How optical polishing helps improve surface quality
Optical polishing is a fabrication technique developed specifically to achieve minimal defects and smooth micro-roughness values. Polishing is a process that involves the use of free grains, usually suspended in a liquid (slurry) rather than bonded into a wheel as in grinding. This process can generate super smooth surfaces with roughness values below 1 Å, which can reduce scattered light to below the 1 ppm level.
High precision optical components are made from many materials from glass to metals. These components are finished with a polishing process in order to meet optical surface finish requirements. The superior surface finish capability of polishing has allowed this technique to be widely adopted for the manufacture of precision mechanical and optical components.
Each manufacturer will have small variations on this basic method of polishing, as well as proprietary techniques to achieve specific goals. For example, different materials will behave differently to different spindle or lap speeds. What is the consistency of the small abrasive particle sizes within the slurry that flows over the optical surfaces? How does time affect the polishing process? Are larger particles or outside contamination causing scratching or damage to the surface?
Thus, it is crucial to pay close attention to all the aspects of the polishing process. Everything from handling, spindle or lap speeds, particle size distribution in the slurry, polish time, electrical charge and even to monitor the actual chemistry of the slurry, can all have an effect on the outcome of the quality on the final surface. This can prove very challenging when you need to consistently achieve super smooth surfaces.
Optical 3D surface profiling with a TopMap Micro.View®
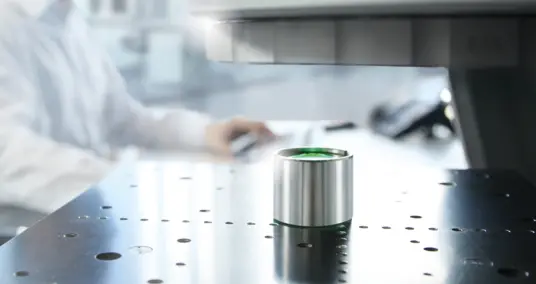
The TopMap Micro.View® is a non-contact optical metrology tool from Polytec GmbH. It is an extremely advanced measurement tool, combining innovative technology with stable and reliable ability to measure and characterize surfaces to international standards and traceable artefacts.
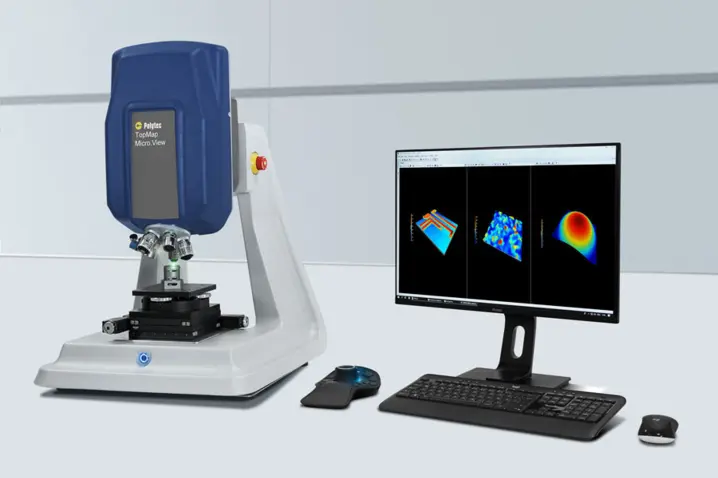
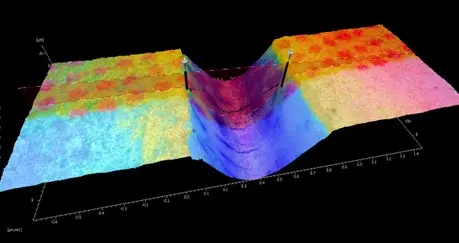
The high demands for quality control within the optics industry require non-contact inspection of the 3D topography for super finished surface texture. Besides the sub-nanometer sensitive Z-resolution this coherence scanning interferometer (CSI) measures highly repeatable as well. Together with automated software and stable hardware platform,TopMap optical profilers from Polytec offer an areal surface topography representation.
The TopMap Micro.View® is perfectly suitable for the measurement and characterization of precision-made, optically smooth surfaces.
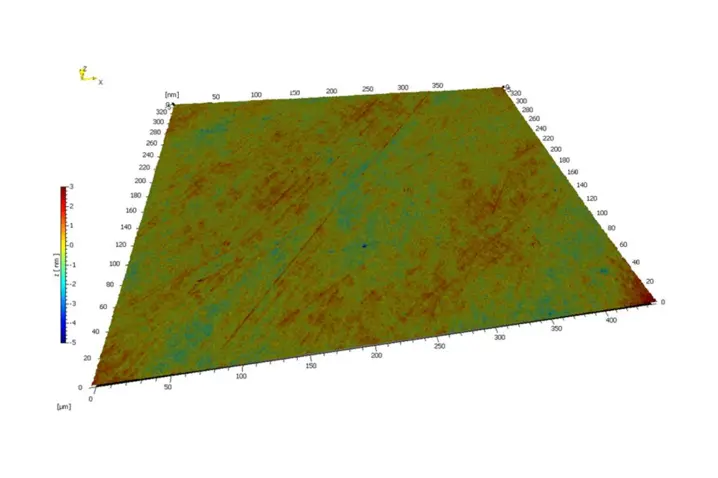
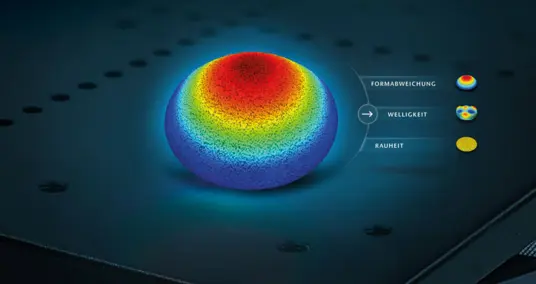
All parameters for the TopMap Micro.View® conform to ISO 4288 and ISO 25178. The definitions used in Polytec datasheets (and the Fair Data Sheet) are given in the new ISO 25178-600. Instruments also conform to ISO 25178-700 (calibration of areal measuring instruments) and the description is comparable to our specifications. Surfaces can also conform to optical elements within ISO 10110, including surface texture measurements with correctly filtered parameters, measurement of surface imperfections, scratches, digs and chips can be recorded and data displayed.
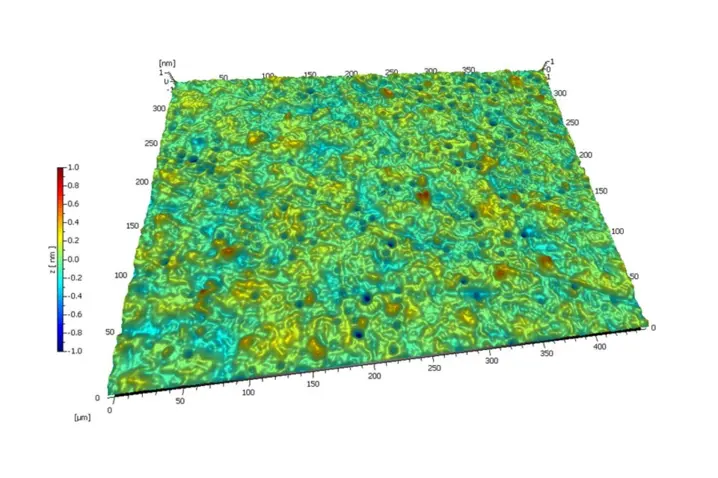
Summary
The new TopMap Micro.View® is ideally suited for optical polishing applications. This instrument using advanced coherence scanning interferometry will also prove to be a valuable process optimization tool throughout a production facility. All measurements are non-contact and can be fully automated to help reduce handling errors.
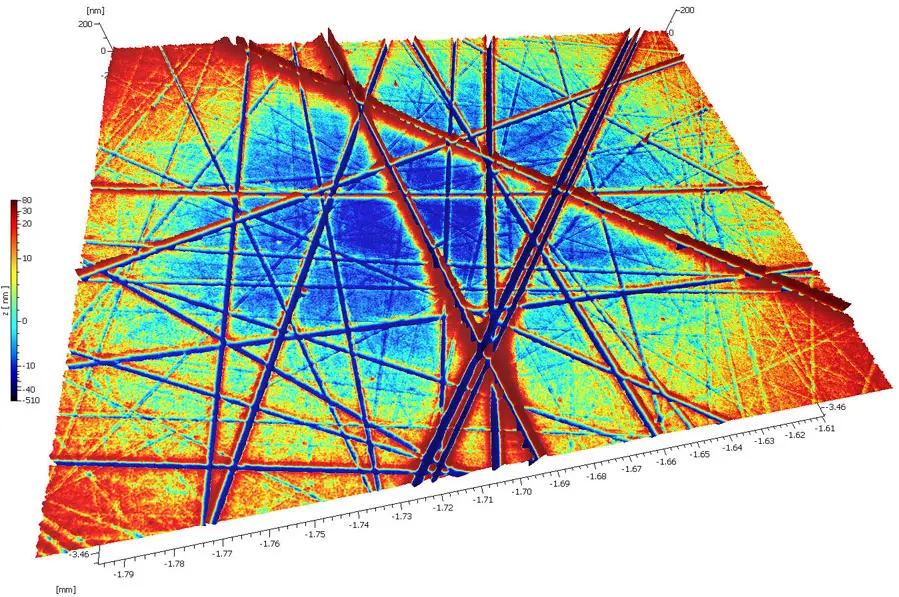
Measurements offer:
- Accurate and quantitative surface characterization
- Non-destructive – no sample contact or preparation is required
- Fast, convenient and optionally fully automated
- Works for a wide range of optical materials, from super finished to greys
- High resolution, highly repeatable and stable measurements
