For many products, the quality of the coating is crucial — for example, its thickness, color, gloss, or the adhesion of one or more layers to a substrate. Whatever the purpose of these coatings, measuring their thickness or uniformity — especially in critical areas — is essential for quality control.
Systems based on the photothermal measurement method offer practical solutions here, as they are suitable for almost all inner or semi-transparent layers on all common substrates. Measurement times of around one second also allow direct integration into the production process — even in applications where 100% quality control was previously not feasible.
Anodized surfaces can now be tested particularly easily. The new photothermal measurement systems are factory-calibrated for this purpose, making them much easier to use.
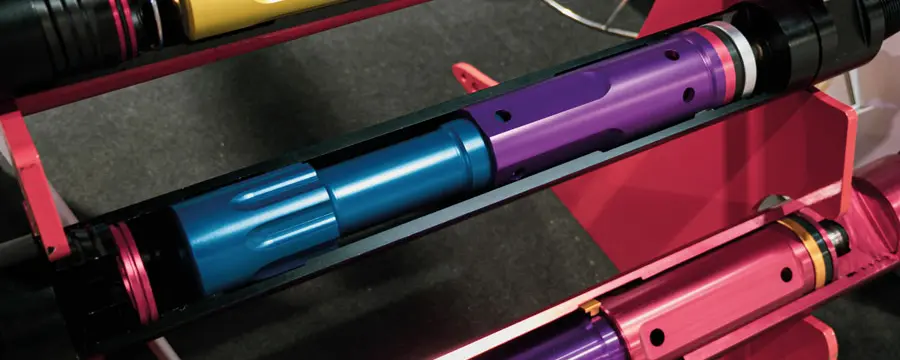
With electrolytic aluminum oxidation, known as the anodizing process, the uppermost material layer is converted into an oxide-based corrosion protection layer on aluminum surfaces. This creates a layer between 5 and 30 micrometers thick, which protects the deeper layers from corrosion as long as no gaps — for example, due to mechanical damage — appear in the oxide layer. The layer thickness depends on the specific application. Whether it involves anodized screws for the automotive or aerospace industries, cookware, jewelry, or data cables, quality assurance requires checking the thickness or uniformity of the anodized layer (see cover image).
The conventional methods used so far have significant drawbacks: For example, if samples are taken and layer thickness is determined by microscopic cross-sectioning, the layer can indeed be visually inspected at that point — but the test specimen is then discarded, and the measurement results are neither accurate nor reproducible. Many applications therefore use resistance measurement. However, this only works well as long as the geometry of the test object does not restrict the current flow. Moreover, if contact probes are positioned manually, individual variations in measurement results are inevitable. High reproducibility can therefore not be achieved with this approach.
Laser-Based Photothermal Measurement: Non-Contact and Fast
The photothermal measurement method developed by the French manufacturer Enovasense, now offered by Polytec specifically for measuring the layer thickness of anodized surfaces, eliminates these difficulties. The laser-based layer thickness measurement system (e.g. HAKO-L) operates without any contact with the object. Using lasers and infrared sensors, the coating is measured from working distances of 20 to 40 mm with a repeatability typically of ±1 µm or ±3% of the measured value.
The laser-based photothermal measurement principle is based on heating the sample surface by laser irradiation. This heat spreads by diffusion, depending on the material and the coating thickness. The test object is irradiated by the laser at defined points, and from the thermal response at these points, the layer thickness is calculated using dedicated algorithms. Because the excitation laser generates only minimal heating, neither the object nor the coating is affected or damaged during measurement. The process is also extremely fast — the measurement itself usually takes less than one second.
The spatial resolution depends on the size of the laser spot. When testing anodized surfaces, the laser beam has a diameter of about 700 µm. As a result, components and areas that were previously inaccessible with conventional contact probes can now be measured with high precision — even in critical locations such as bores or filament-like structures.
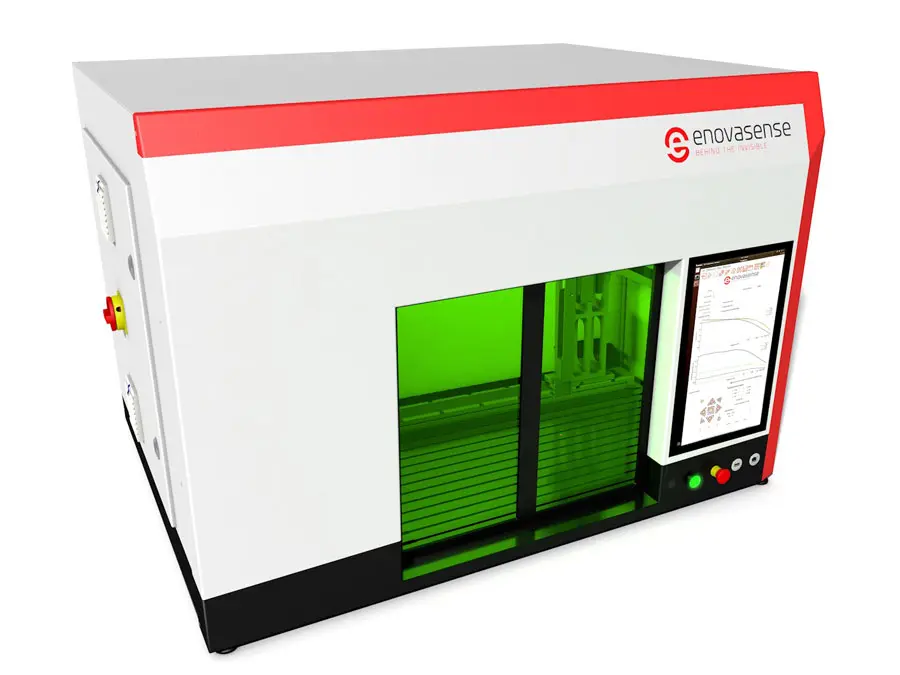
The measurement method is available either as a by-the-line or laboratory inspection station (Figure 2) but can also be directly integrated into the production line if required. In such cases, the measurement head can, for example, be mounted on a robot arm.
Independent of Object Shape and Size
Since the measurement is independent of the object’s geometry and size, surface coatings on a wide variety of objects can be inspected. Thanks to the Enovasense technology, recalibration is not required when switching products. Everything necessary is already stored in the measurement system; measurement times, distance, accuracy, and laser intensity are all optimized for the application. This allows the measurement of shapes with curvature radii down to 1 mm, and no reference to an uncoated part is needed for calibration.
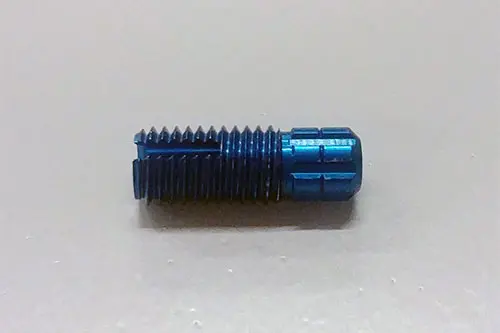
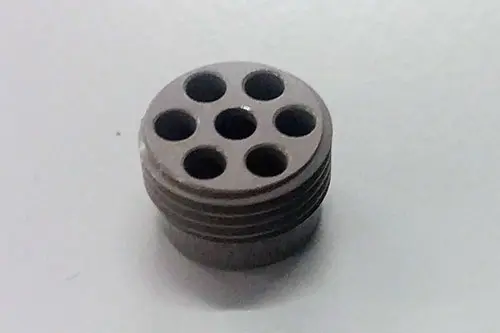
This saves labor time both in industrial applications and in the laboratory. For the objects shown in Figures 3 and 4, the HAKO-L delivered significantly more meaningful and highly accurate, reproducible measurement results — both on the screw thread and the small perforated workpiece — compared to destructive profile measurement and eddy current testing.
Optimizing the Process Using Measurement Results
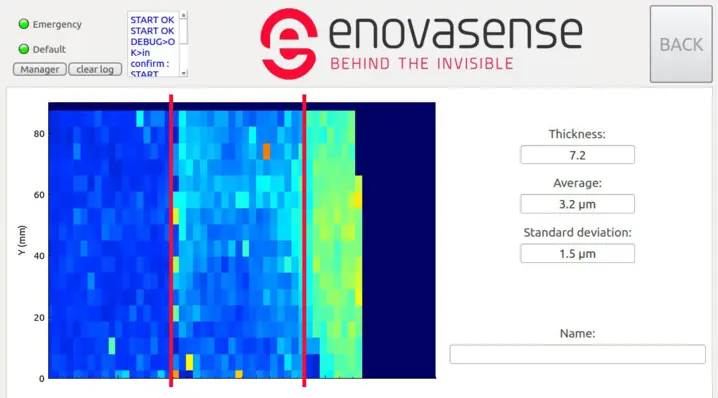
The HAKO-L system is equipped with a 3-axis system, allowing complex parts to be scanned over their entire surface for extended analysis. This enables a quick and clear feedback in the same work step regarding the distribution and uniformity of the anodized layer on one or multiple selected parts.
These measurement results can be used not only for quality control but also for process optimization:
Figure 5 shows the results for three anodized parts positioned at three different locations in the anodizing bath. Depending on their position in the bath, significant differences in layer thickness can be observed. Such a measurement takes only a few minutes.
The benefits can be enormous, as the measurement data allow for finer adjustment of process parameters to achieve a more uniform coating and, more generally, to improve quality. This approach pays off quickly, especially since handling the photothermal testing method is straightforward thanks to the pre-calibration for anodized layers.
